


Sun 11 Jun 2023
DIY planter with wooden sticks
If you are in the mood for getting creative and you want to make something that is as practical as it is beautiful, you should try making your very own DIY planter using wooden sticks! You will need just a few basic supplies and soon your plant will have a beautiful new home.
What you need:
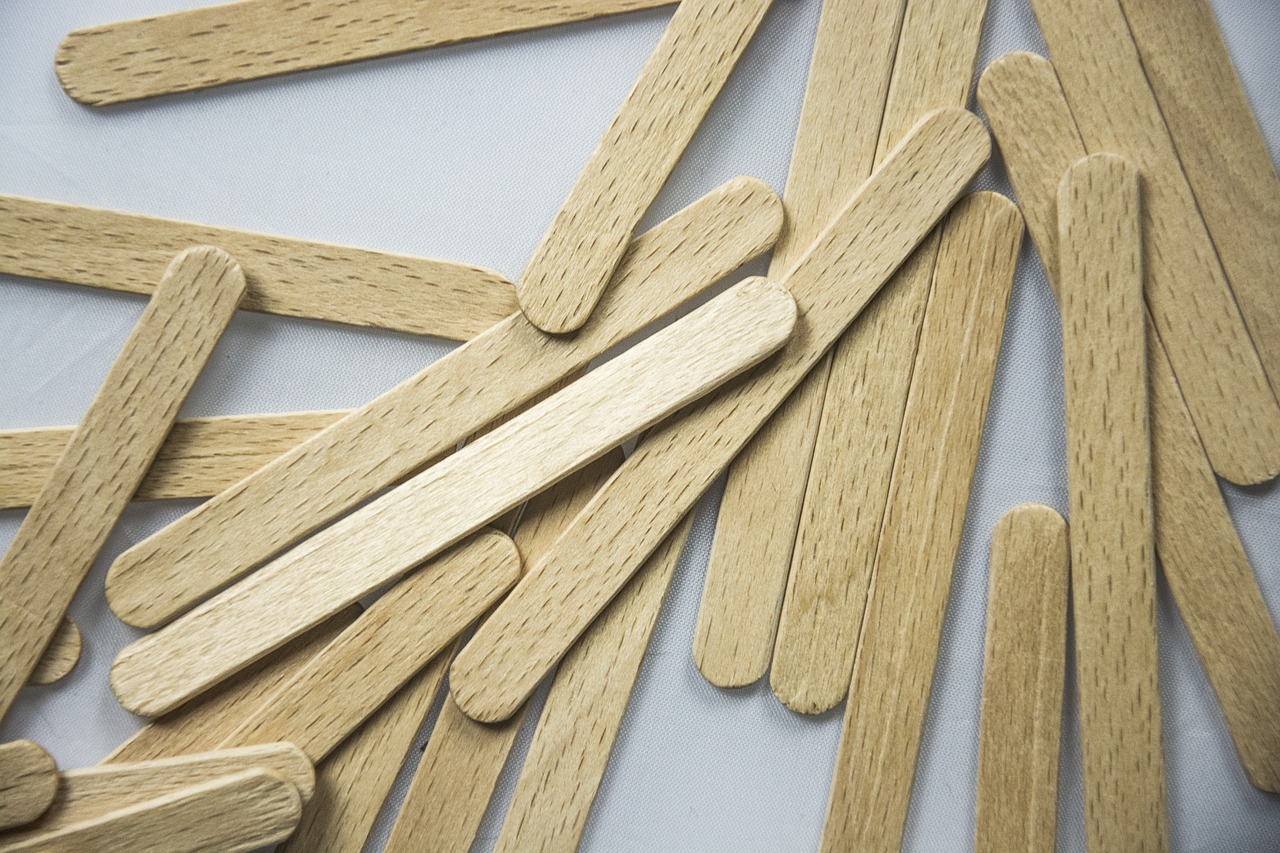
- 2 ½ inch wooden sticks (or old ice cream sticks) to create the planter
- Hot glue gun
- Ruler
- Hand drill
- Pair of scissors
- Masking tape
- Paint and paint brush
- One small twig
Directions:
- To being making your DIY planter, you will need to place an uneven number of sticks side by side. Make sure that they are not lined up too perfectly. The middle stick should be lower and the rest should gradually be placed higher to create a staircase effect.
- Use your masking tape to hold these sticks together.
- Repeat these steps with another batch of sticks.
- Use a sharp pair of scissors to cut the bases of your sticks so that they have a flat base.
- Next, take two sticks and trim the round ends off each of them.
- Use hot glue to secure these two sticks to one another (side by side) to create a base.
- Attach the two larger pieces to the base using your hot glue gun.
- Place three sticks side by side and hold in place with masking tape. Measure and mark them to create two equal side panels.
- Cut the round edges off two sticks and drill a hole in the rounded edges.
- Glue these two sticks to either side of your planter.
- Paint the planter in the colour of your choice.
- Insert the twig into the two opposite holes so that you can lift the planter up if needed.
- All you need to do is set your plant inside and enjoy.
As you can see, there are a few steps involved but they are quite simple. This DIY planter design can be made in just about any shape or size so you can create multiple designs if you wish.