


Fri 24 Feb 2023
Paper dahlias in a few easy steps
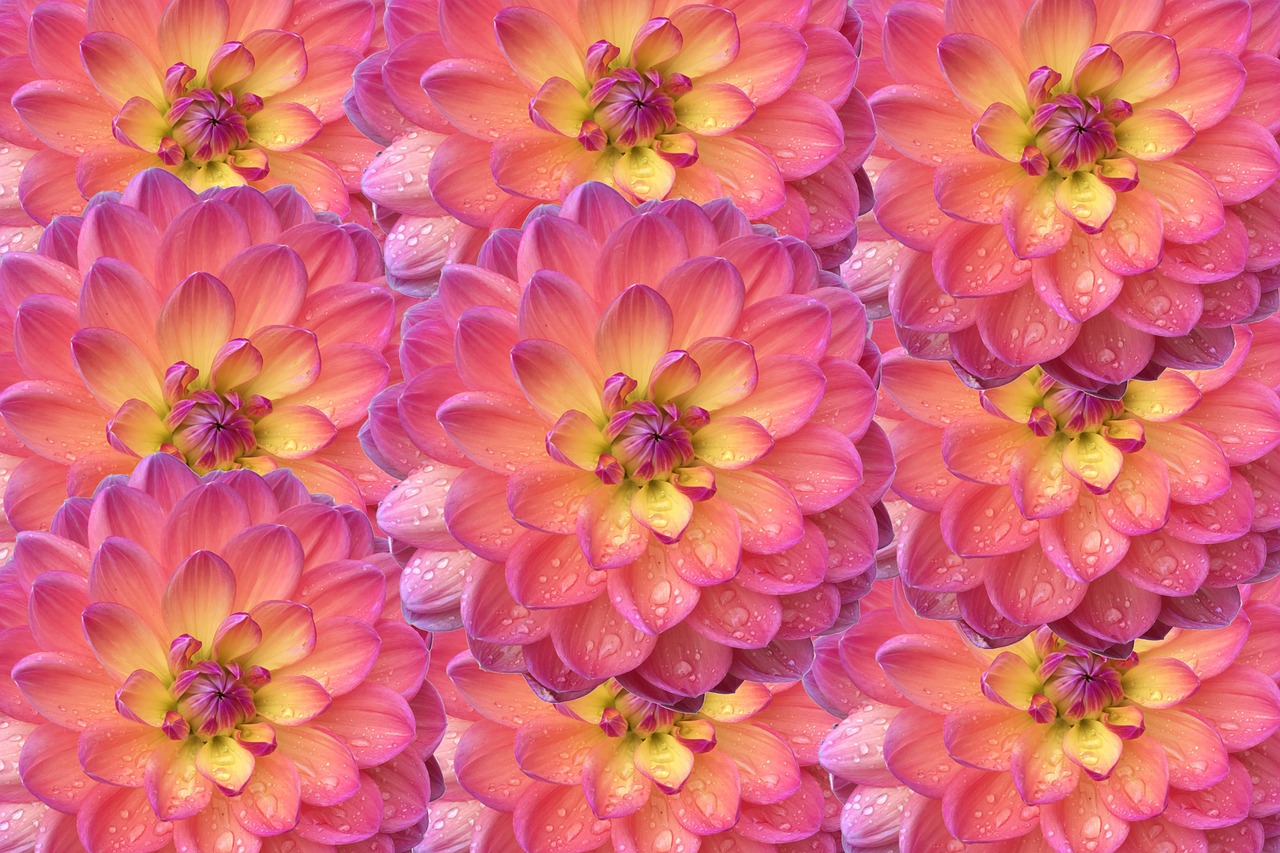
Dahlias are gorgeous flowers and they are loved for their full appearance and bright colours. Of course, if you don’t have any in your garden you can always make some beautiful paper dahlias by following these really simple steps.
What you need:
- Colour paper (two different colours for each bloom)
- Cardboard circle with a diameter of 15cm
- Paper glue
- Pair of scissors
- Pencil
- Ruler
Instructions:
- To begin, you will need to measure 5cm x 6cm pieces of paper with your ruler. You will need 51 squares of your first colour so this might take some time.
- Each of these pieces of paper needs to be rolled up into a cone shape.
- Use glue to secure the cone so that it does not come apart.
- These cones should have one thin end and another wide open end.
- Apply some glue to the outer edge of the cardboard circle and stick the cones to it. Make sure that they extend beyond the margin of the cardboard to properly conceal it.
- Once the outer rim is complete, you can proceed by adding three layers in total. Your cones will overlap one another slightly but they should not reach more than halfway on top of the previous layer.
- Next, you need to prepare some pieces of paper in a different colour. They should be smaller (3cm x 5cm) and you should roll them up into cones. You will need 48 of them.
- Follow the same pattern as you did with the larger ones and fill your design and conceal the cardboard.
- You can make as may paper dahlias as you need to decorate your event.
These paper dahlias are large so you can uses them as part of a tablescape if you like or hang them on your walls. Their flat design means that they will not be propped up in vases but they will have a full appearance all the same.