


Sun 19 Feb 2023
Wax flowers – how to make them yourself
When you first receive a bouquet of fresh flowers, you will love all those perfect petals and their bright colours. Of course, within a few weeks, their beauty will fade as they reach the end of their lifespan. Wax flowers, on the other hand can last significantly longer. They can make an excellent addition to various areas of the home and they can be presented as gifts as well. Here’s how to make them yourself.
What you need:
- Paraffin wax
- A heat-resistant bowl
- Parchment paper
- Dried flowers of your choice
Instructions:
- The first step you need to take is to choose your flowers wisely. In other words, you need to select flowers that will hold up well once dried. Some blooms are more delicate than others. When drying your flowers, make sure that you hang them upside down so that they maintain their shape.
- Once you are ready to start making your wax flowers, you will need to melt the wax using the double boiler method.
- Once completely melted, dip your flowers in the wax before placing them on the parchment paper.
- When all of your flowers have been dipped and placed on the parchment paper, you can speed up the hardening process by placing them in the fridge until the wax solidifies.
- Once set, you can place your wax flowers in an airtight container in a cool and dry place.
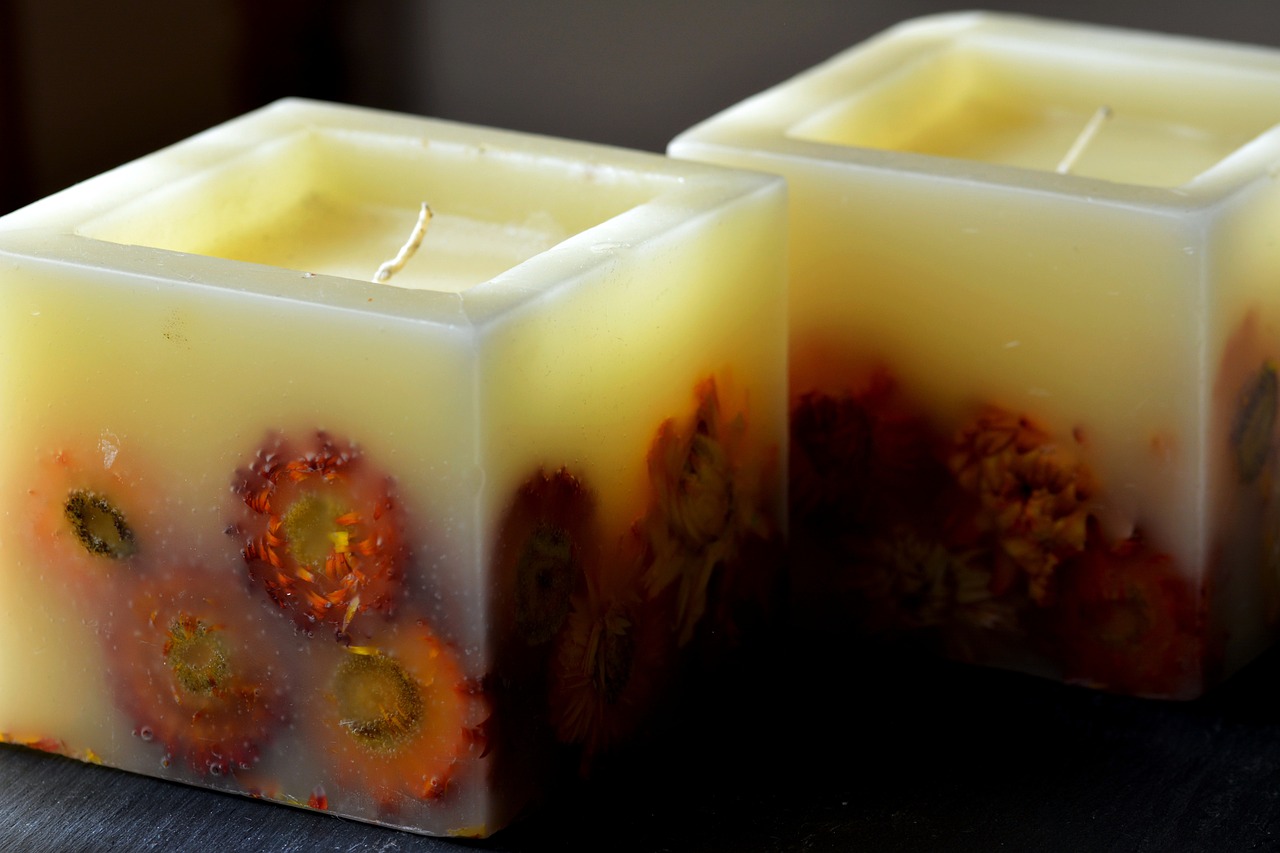
- When you want to make something like a candle, you can use melted wax to adhere the flower to the candle. You can use a similar technique when you stick these blooms to a wrapped gift.
Wax flowers can be used in so many different arts and crafts. Not to mention the fact that they will keep for a long time so you don’t have to use them all at once. Just remember to choose the right flowers and the right colours for future designs.