


Romantic vase design for your Valentine
Valentine’s Day, a celebration of love and affection, is the perfect occasion to unleash your creative spirit and craft a personalized gift. A decoupage vase adorned with romantic motifs and heartfelt messages is not only a unique and thoughtful present but also a beautiful addition to your home decor. In this step-by-step guide, we’ll explore how to create a stunning romantic vase that will add a touch of love to your Valentine’s Day celebrations.
Materials Needed:
-
Glass Vase
Choose a clear glass vase with a smooth surface for the best decoupage results. You can find affordable options at craft stores or repurpose an old glass vase for an eco-friendly touch.
-
Decoupage Paper
Select decoupage paper with Valentine’s Day themes, such as hearts, Cupids, or romantic quotes. You can find a variety of options at craft stores or print your own designs using a colour printer.
-
Mod Podge or Decoupage Glue
Mod Podge is a popular decoupage glue that works well for this project. Choose a formula suitable for glass surfaces for a secure bond.
-
Foam Brush
A foam brush is ideal for applying the Mod Podge smoothly to get your romantic vase design started and adhere the decoupage paper without causing wrinkles.
-
Scissors
Use a pair of sharp scissors to cut out your chosen decoupage designs with precision.
-
Craft Sealant (Optional)
To protect your romantic vase and enhance its durability, consider using a clear craft sealant. This step is optional but recommended for long-lasting results.
Step-by-Step Guide:
-
Start by cleaning the glass vase thoroughly to ensure a smooth surface for decoupage. Use glass cleaner or a mixture of vinegar and water to remove any dust, fingerprints, or residues.
-
Carefully cut out the selected decoupage designs from the paper. You can choose a variety of motifs to create a collage effect or focus on a specific theme, such as hearts or love quotes.
-
Arrange the cut-out designs on the glass vase to plan the placement. Experiment with different layouts until you find a composition that you love.
-
Using a foam brush, apply a thin layer of Mod Podge onto a small section of the glass vase where you’ll be placing the first decoupage design.
-
Gently place the first cut-out decoupage design onto the Mod Podge-covered section of the vase. Smooth out any air bubbles or wrinkles using your fingers or a clean, dry brush.
-
Repeat the process, applying Mod Podge to the romantic vase in small sections and adhering the cut-out designs until the entire surface is covered. Ensure that the edges of the paper are securely attached to the glass.
-
Once all the designs are in place and the Mod Podge has dried, apply a thin, even layer of Mod Podge over the entire surface of the vase. This acts as a sealant, protecting the decoupage from wear and tear.
-
Allow the decoupage vase to dry completely. This may take a few hours, depending on the thickness of the Mod Podge layers. Ensure that the vase is placed on a flat surface to prevent any uneven drying.
-
If you’ve opted for a craft sealant, follow the instructions on the product and apply it over the dried Mod Podge to enhance the durability of your decoupage vase.
-
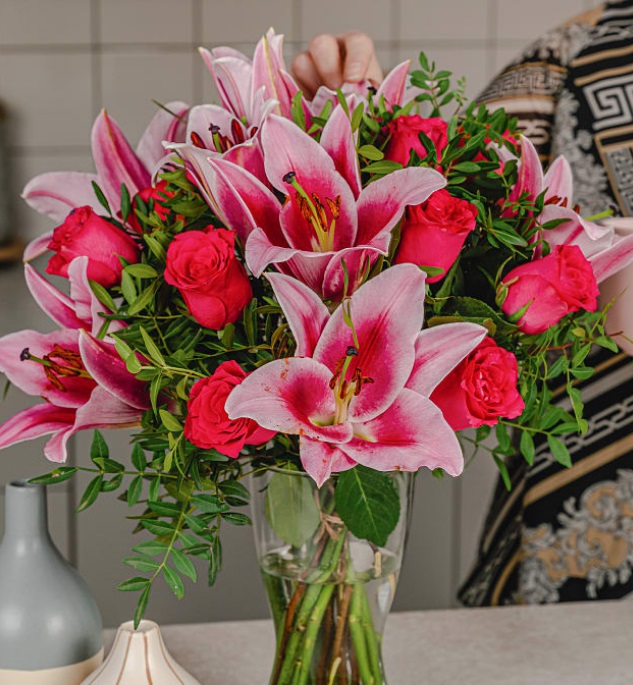
Once your decoupage vase is fully dry and sealed, it’s ready to be displayed. Add a touch of romance to your home by placing fresh flowers or decorative stems in the vase, creating a charming centrepiece for your Valentine’s Day celebrations.
Crafting a romantic vase for Valentine’s Day is not only a delightful way to express your creativity but also a heartfelt gesture that adds a personal touch to your home decor. With a few simple materials and a bit of artistic flair, you can create a one-of-a-kind masterpiece that celebrates the spirit of love. Whether you gift it to a loved one or use it to enhance your Valentine’s Day festivities, your decoupage vase is sure to be a cherished symbol of affection and craftsmanship.