Pumpkin vases and DIY autumn designs
Pumpkins are not only great for pies and soup, they can also be used to decorate your home. If you don’t know how to create your own pumpkin vases, here are some simple tips to follow. Remember, when filling your vases, you should stick to autumn colours and themes for the best effect.
Clean out the pumpkin
First things first, you need to clean out your pumpkin or pumpkins. Carve the top of the pumpkin out and remove all of the seeds. These can be cleaned, dried and roasted if you like. You can also carve a design into your pumpkin if you like. Once cleaned, your pumpkin vases are ready.
Add floral foam
The best way to keep your autumn flowers hydrated in this type of vase is to use floral foam or you can place a plastic or glass holder inside your pumpkin vases. If you use floral foam, you will need to allow it to soak up water before placing it in the pumpkin. The advantage of floral foam is that it also helps secure your stems in place. This makes it easier to create a design without worrying about your flowers and foliage moving around.
Arrange blooms
When arranging your flowers in pumpkin vases, you will need to trim the stems according to the size of the vase. Cut your stems at an angle so that they can absorb water that much easier. This will help keep them fresher for longer. Start around the edge of the vase and work your way towards the middle.
Use different sizes
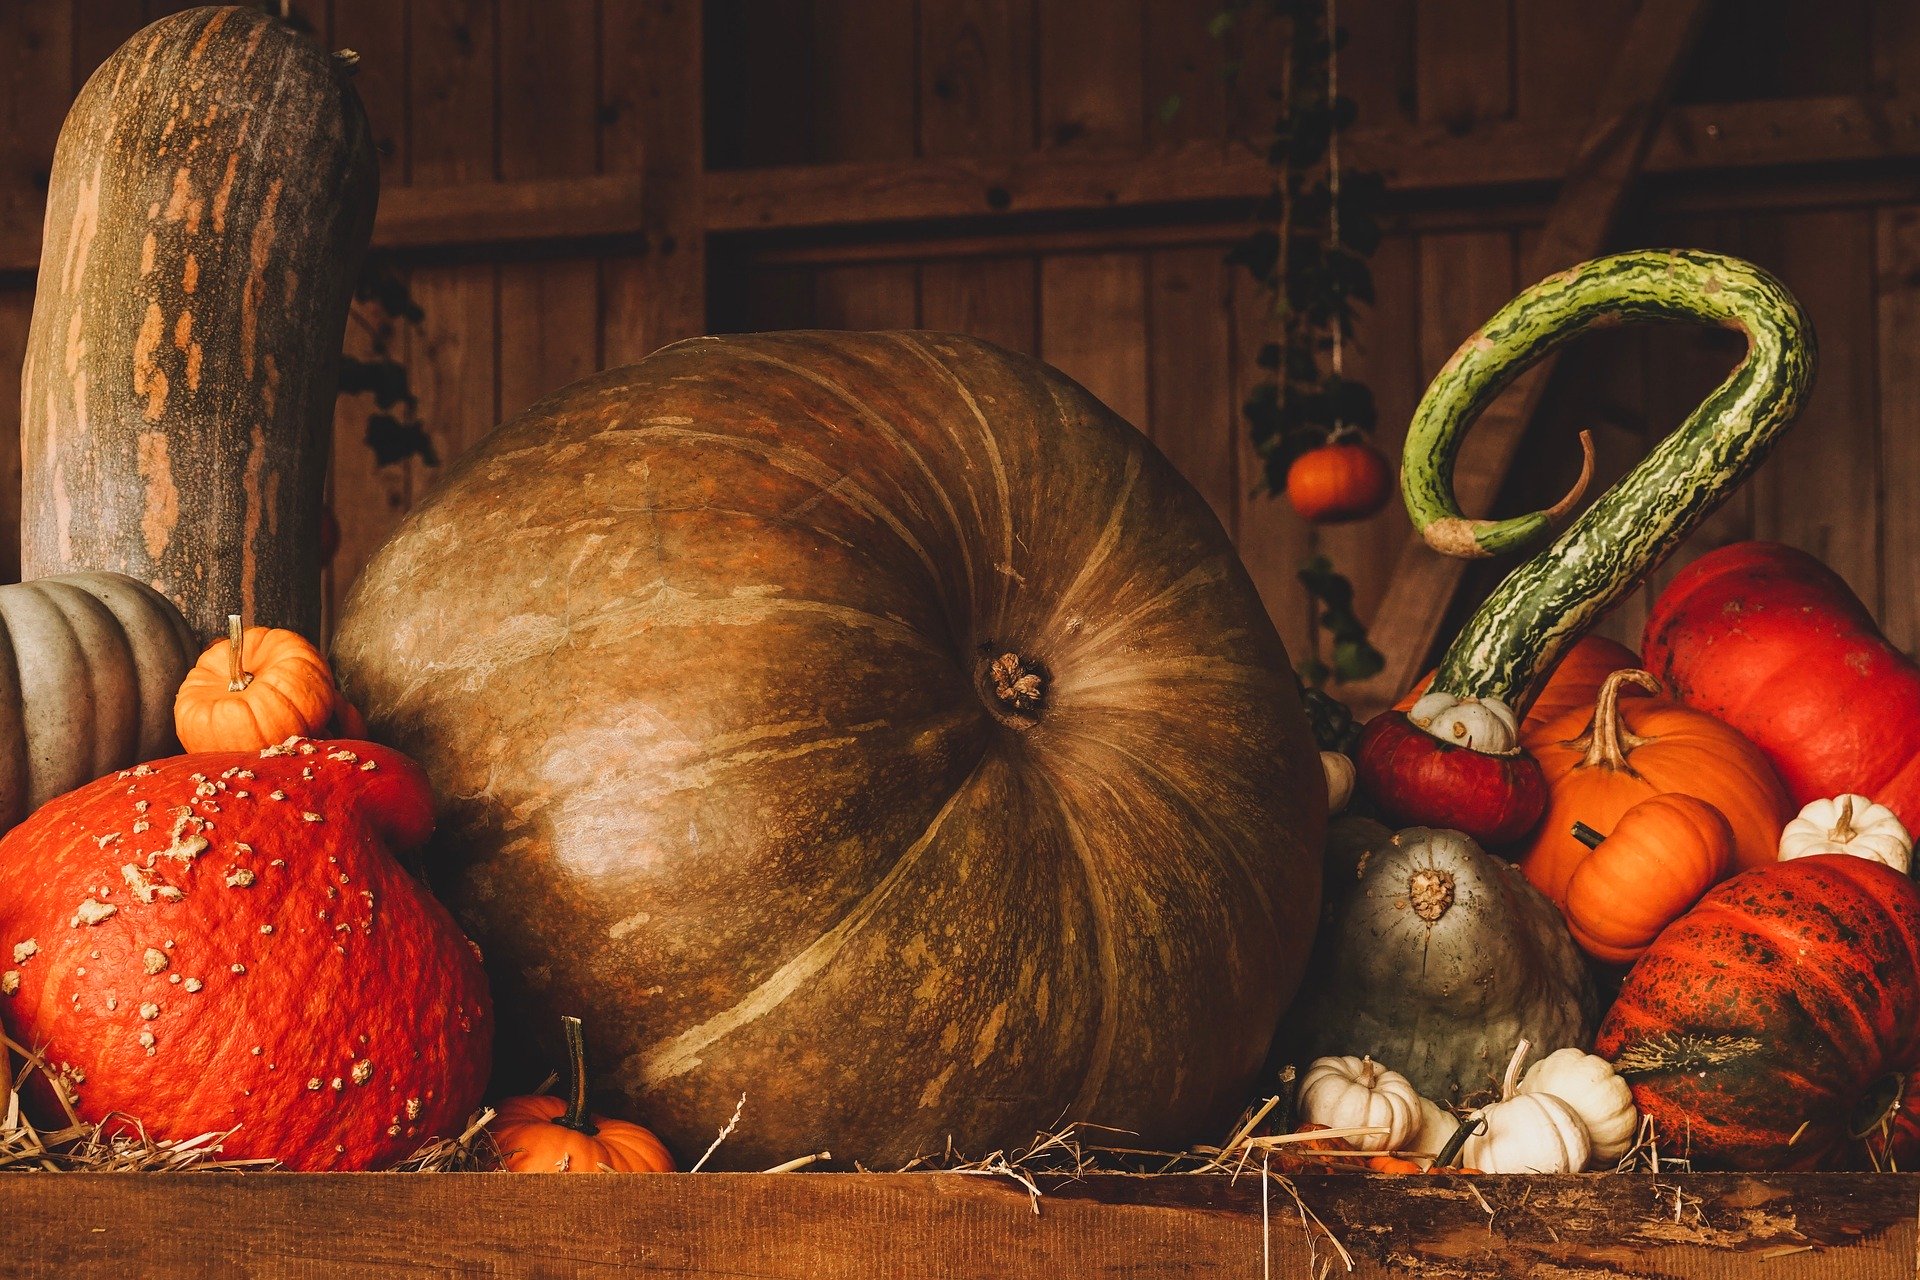
Pumpkin vases can come in various sizes and colours. Some are larger than others and you will also find orange, white and green varieties. The smaller the vase, the fewer flowers you will need. A larger arrangement looks best in a larger space while a small arrangement will look best on a side table or small coffee table.
Once your pumpkin vases are ready, display them wherever you like and make sure that you keep them away from sources of heat or direct sunlight. Check the water levels regularly to make sure that they do not dehydrate.
