


Wed 11 Jan 2023
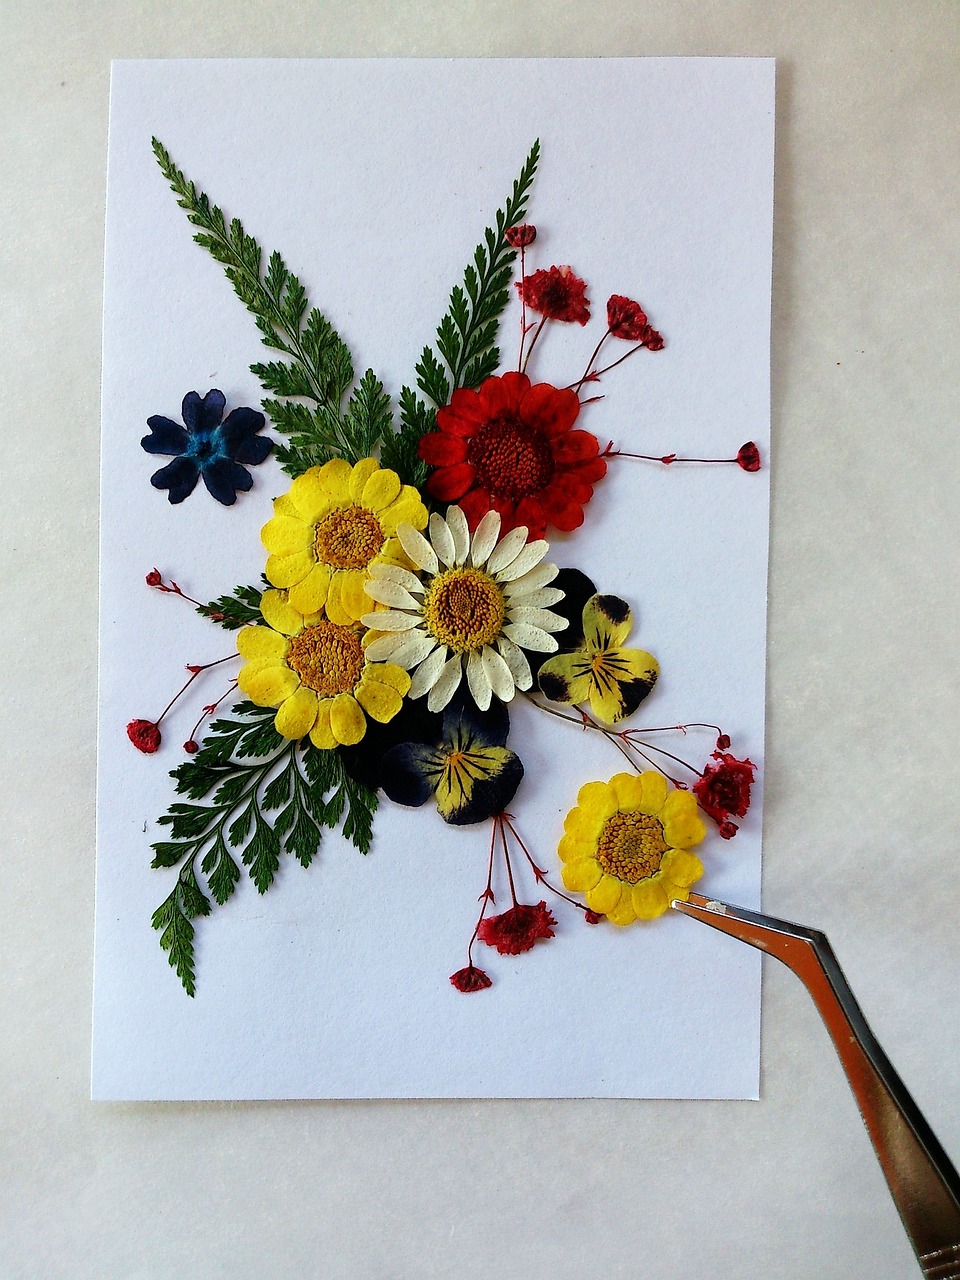
Pressed flower decor for your home
Fresh flowers can be used to decorate various areas of your home. However, a fresh bouquet will only last for a couple of weeks. Of course, if you want to create something special that you can enjoy for so much longer, you should try making your very own pressed flower decorations. Here are some simple steps to follow using some basic materials.
What you need:
- 1 cup of baking soda
- ½ cup of corn starch
- ¾ cup of warm water
- A rolling pin
- A cookie cutter or class for cutting round discs
- Pressed flowers and leaves of your choice
- Mod podge (you can buy or make your own)
- A paint brush
- String for hanging your ornament OR magnets for displaying on your refrigerator
Directions:
- You will need to begin creating your pressed flower decorations by mixing the dough. Place the baking soda and corn starch in a pot and add warm water. Mix well and place on medium heat on your stove.
- Stir the mixture continuously as it bubbles. It will eventually start to come away from the sides of the pot.
- Once the mixture looks like soft play dough, remove from the stove and allow it to cool enough so that you can handle it.
- Turn the dough out onto a clean work surface and kneed just for a few minutes to make sure it is soft and flexible.
- Roll out the dough but make sure it’s not too thin.
- Use the cookie cutter or a cap to cut out circles and set them aside.
- Roll the dough out again and again until you have made all of your cut outs.
- Make a hole near the top of each of these cut out discs so that you can thread a ribbon or string through it if desired. No need to do this if you wish to make magnets.
- Place all of your discs on a baking tray.
- Bake at 100 degrees C for about 1 hour.
- You can use this time to prepare your pressed flower and foliage selection.
- Once baked, remove them from the discs from the oven and allow to cool to room temperature.
- If you are not able to buy mod podge, you can make your own by combining one part wood glue with one part water. Mix well to ensure that there are no lumps.
- Use the paint brush to apply the mod podge to your first disc.
- Apply the flowers and leaves to the disc and then move on to the next one.
- Once you have created all of your designs, you can apply another layer of mod podge to each disc.
- If you painted over the hole, wait until the mod podge dries before poking a hole again through the glue using a toothpick.
- Once completely dry, you can either add a magnet to the back of the decoration or add some string or ribbon so that they can be hung.
As you can see, these pressed flower decorations are very easy to make. You can make as many or as few as you like. You can also send them to loved ones as gifts. Remember, you can also apply some decorative paper first, if you prefer or even a layer of paint to the discs before adding your flowers.