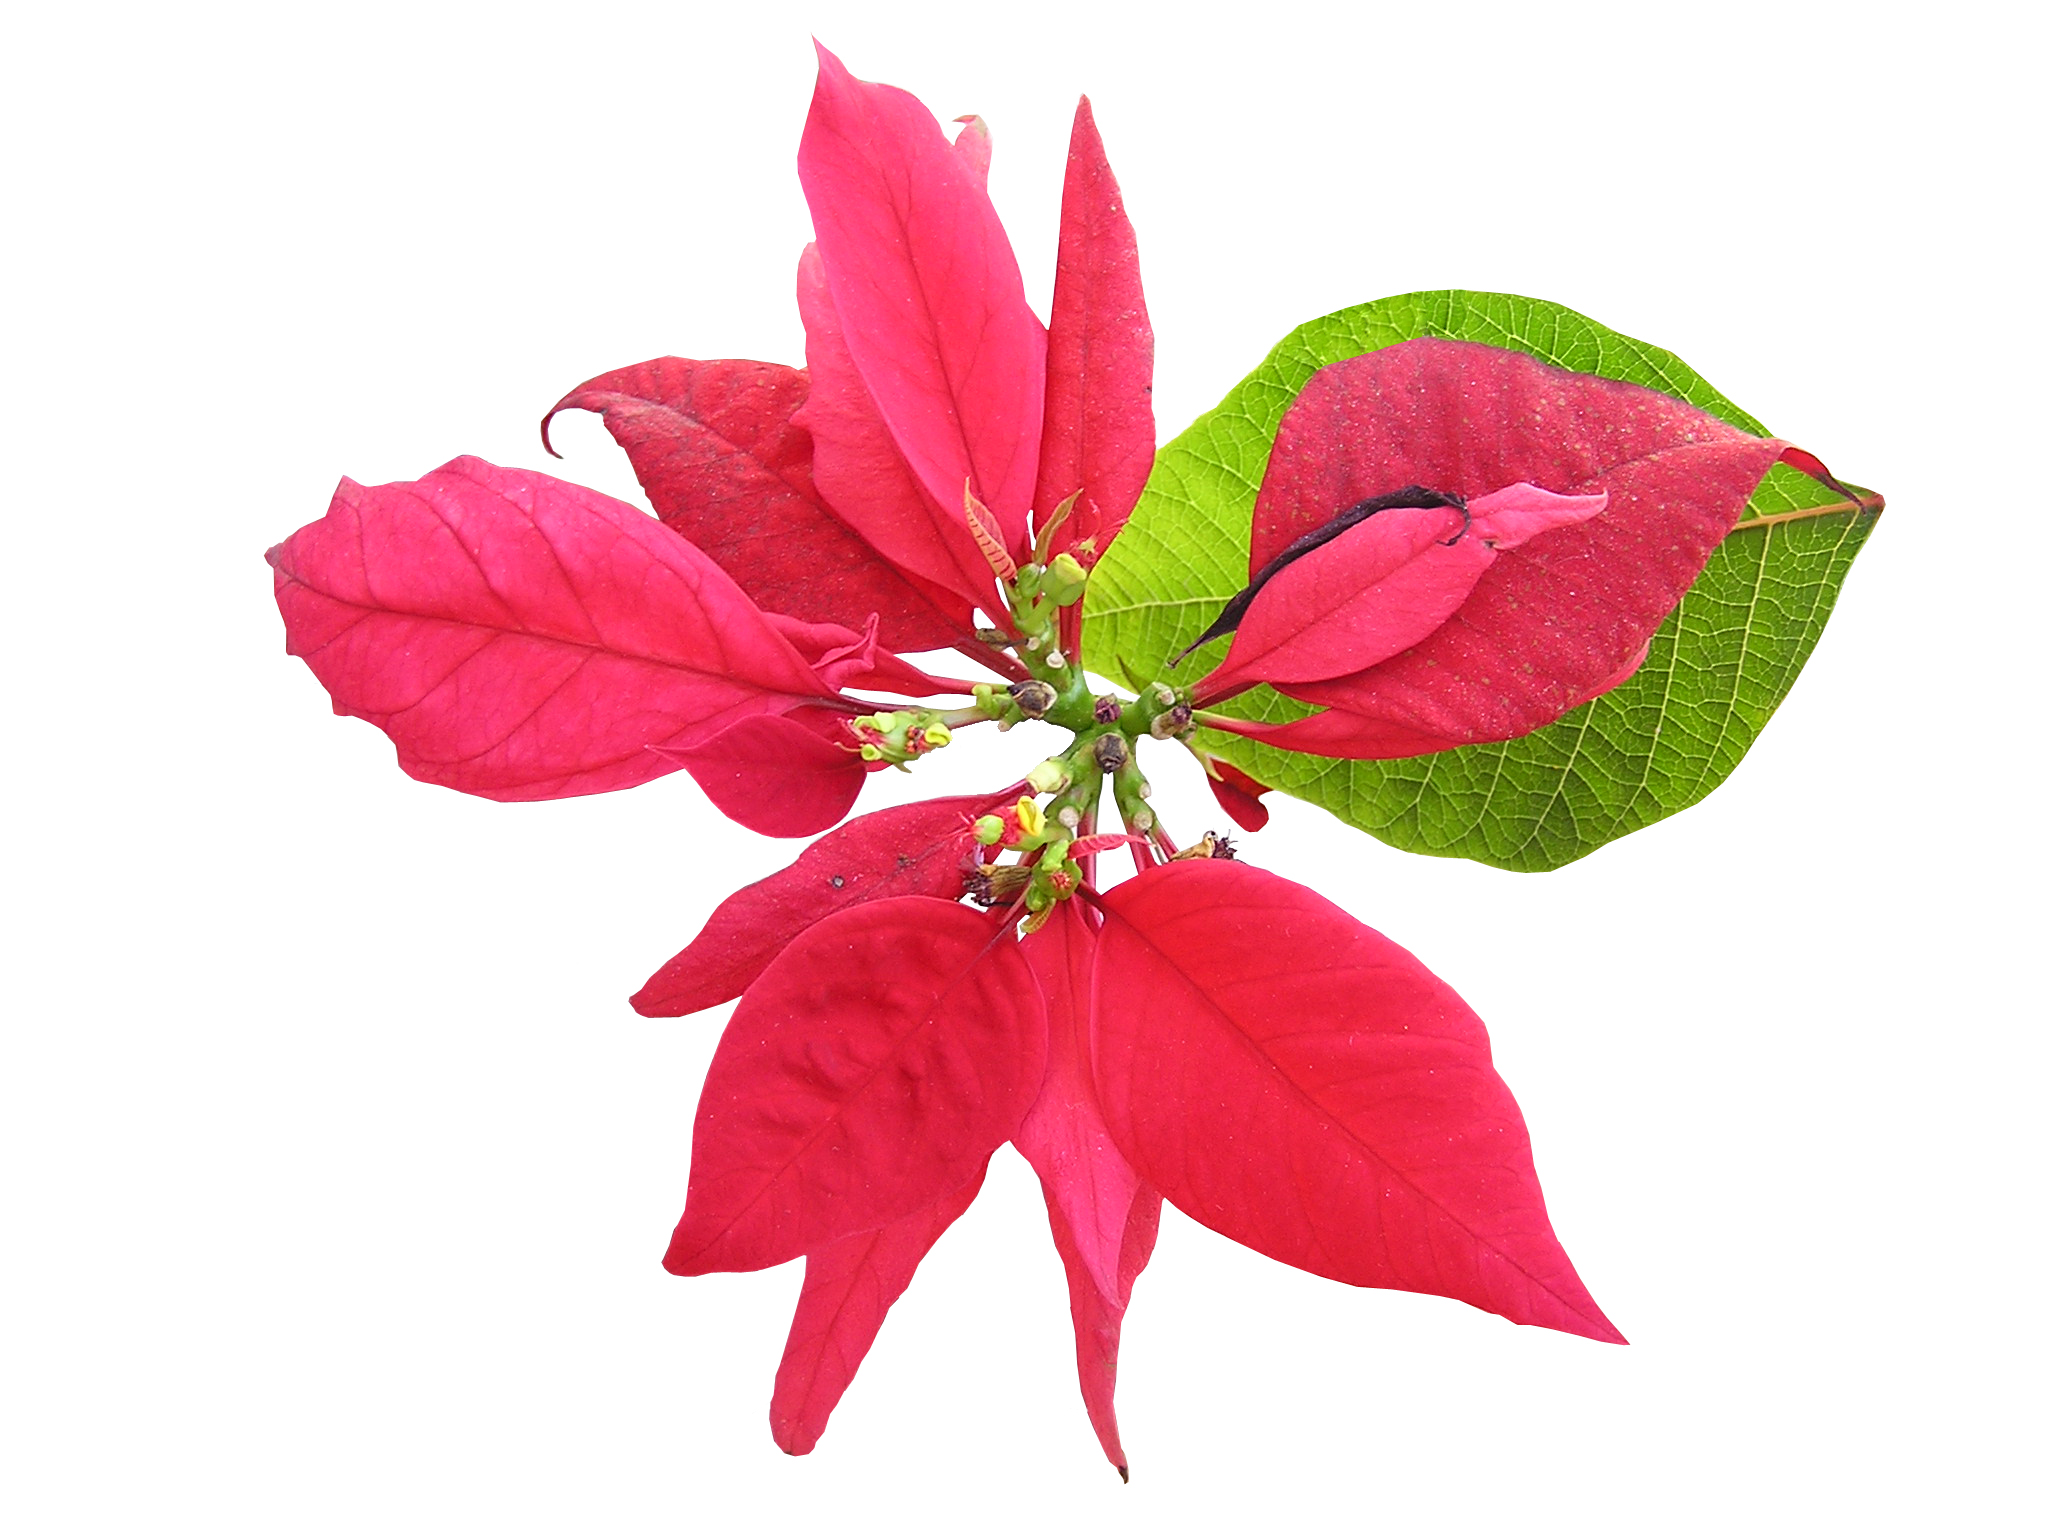
How to make pressed flower Christmas cards
Each year we spend a fair amount of money on Christmas cards for friends and loved ones. When you visit various shops, you will also notice that many of these commercial Christmas cards are very similar, if not identical. If you want to give your loved ones and friends a truly unique Christmas greeting card this year, you could make your very own pressed flower designs. They are really easy to make and you will need just a handful of basic supplies to make several individual designs.
You will need:
- Pressed flowers of your choice
- Cardboard sheets cut to the different sizes you need to make your Christmas cards
- Wood glue
- Toothpicks or a small paintbrush
- Tweezers
Method:
- Take one piece of cardboard and start by folding it in half. You will need to decide whether you want to create a portrait or landscape design. You can even make square cards if you prefer. Remember, cardboard is better than paper because it will support the flowers better.
- Before you start gluing your flowers in place, you need to plan your design. Place your pressed flowers on the font of the card and move them around until you determine the perfect design.
- When you are ready and happy with your design, you can then slide the flowers off the cardboard and start applying glue to each flower, one at a time. If any of your flowers overlap, make sure that you glue down the lower levels first and then stick down the ones that are supposed to overlap on top.
- To make things extra easy, you can pour some of that wood glue into a bowl so that you don’t have to pour straight from the bottle every time.
- Remember to use your toothpicks or a small paintbrush to apply the glue to the back of the flower and wipe your hands on a damp cloth each time so that you don’t get glue on the front sides of your other flowers.
- You can also hold each flower with the tweezers instead of your fingers so that you don’t get glue all over your hands. That said, you will also need to wipe the tweezers off from time to time in order to prevent them from sticking.
- Once all of your flowers are stuck in place, you can press down gently and look for any petals or leaves that have not completely adhered. Apply some extra glue under these petals and leaves before allowing the card to dry.
- When the glue is completely dry, you can then address the card to that loved one and post it or attach it to their gift.
The best part about these designs is that you can use just about any kind of flowers. As long as they are pressed in advance, you can build up quite a variety throughout the year. Even if some flowers, like tulips, are particularly delicate, you could still press the petals. Roses are also tough to press but, again, you could remove the petals and press them before arranging them on the card to make a rose design. Remember, there are a number of types of glue on the market. Wood glue is the best because it has great bonding power without causing damage to the card or flowers. Super glue is incredibly harsh and difficult to work with. Regular sticks of paper glue are not strong enough and your flowers will usually fall right off once the glue dries. In addition, stick glue is hard which means that you can easily damage the flowers while applying it. Even if you apply the glue to the cardboard, you will still need to press really hard to get the flowers to stick and, even then, it won’t likely be successful.
