


Wed 29 Mar 2023
Flower placemats – how to make them
If you want to spruce up your dining room table with spring flowers but you want something that lasts longer than a few weeks, you can always make some flower placemats. They are fun and easy to make in just a few steps. Here’s what you will need and the simple steps to follow.
You will need:
- Fresh or silk flowers of your choice
- 12 x 18 inch contact paper (2 sheets for each placemat)
- Scissors (scalloped edge) for rounding the edges of each placemat, if desired.
- Two sheets of firm cardboard and baking sheets if using fresh flowers.
- A firm ruler
Directions:
- When planning the design of your flower placemats, you will need to decide between using fresh and silk blooms.
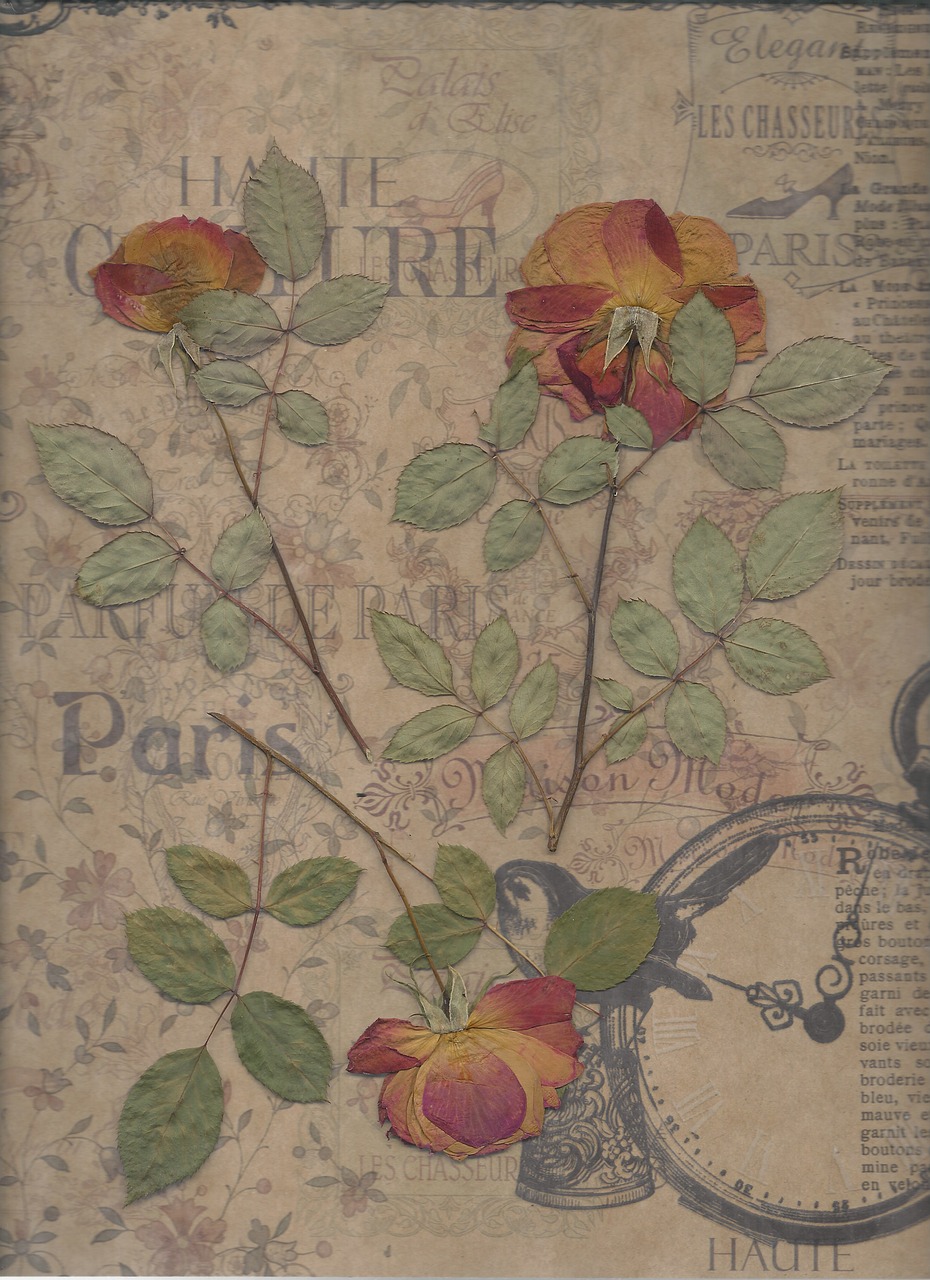
- If you are using fresh flowers, you will need to press them first. This means that you will need to place them between the baking sheets and cardboard before pressing under a heavy weight. It usually takes about two weeks before flowers are properly pressed. It is also important to use flatter blooms or, if they are thicker, you will need to press flower petals.
- Once your flowers are ready, you can lay them out on a piece of paper to create your design. This will make it easier for you to arrange them on the sticky contact paper.
- Once all arranged on the contact paper, you will need to add another sheet on top.
- Use your ruler to ensure that the two sheets are properly adhered to one another with no air bubbles in between.
- Finally, trim the edges of the placemat and you are all done! You can repeat these steps with the rest of your placemats and, remember, they do not need to all be identical.
When planning the design for your flower placemats, it is important to remember that silk blooms will maintain their colour while fresh flowers will change colour as they dry out. Of course, silk flowers will maintain their thickness so you will need to be even more careful when making your choice as you do not want an excessively lumpy result.