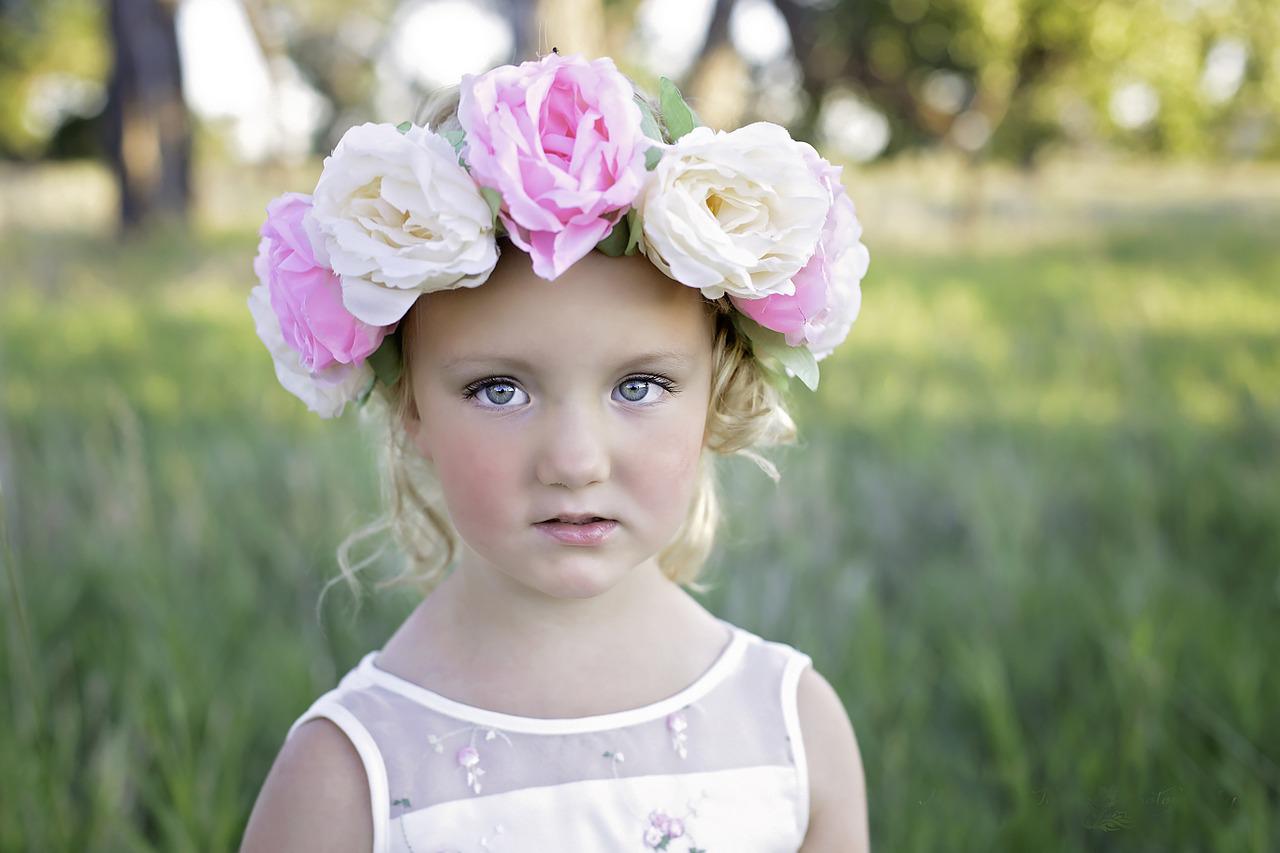
Floral headband design you can make
The spring and summer seasons are fantastic for flower lovers because it means that there are so many different types of blooms available. It is also a great opportunity for you to make your very own floral headband. You only need a few basic supplies. Here’s what you need and how to make a gorgeous headband with fresh blooms.
You will need:
– A strong headband
– Flowers of your choice (choose a colour scheme)
– Needle with synthetic thread (it’s tougher than cotton)
– A pair of scissors
Steps to follow:
- Remember that you should only make your floral headband when you are ready to wear it. These flowers will not stay fresh for long without water so you want to make the most of them.
- You can use an old headband as your base. Just make sure that it is a strong one that can hold the weight of the fresh flowers. Remember, a green headband is great because it is the same colour as your flower stems. If you don’t have a green headband, you can always wrap one up in green ribbon.
- Once you have your headband ready, you can then start decorating with some stems. The best types of flowers to use are those with a flatter design such as daisies. Roses can be used but they are often tricky to work with since they do not really cover the headband.
- Remember, while you can use fresh flowers, you can also use silk blooms if you want a headband that will last even longer. These are great if you want to make them in advance.
- Trim the stems of your flowers as short as possible so that they don’t get it the way. Just make sure that you do not cut them too short or they could end up falling apart.
- Using your needle and thread, you will need to carefully pierce the head of your first flower in order to secure it to the headband. You will need to arrange your flowers one beside the other and in such a way that they cover up the headband. You can also use some foliage if your flowers don’t cover up everything.
- If you are using a plastic headband, it is best to wrap it with fabric ribbon first because this
- Once you have decorated your headband, you will need to secure the end of the thread with a knot. Make sure you knot the thread on the underside of the headband.
- Feel free to add accessories like beads or little lady bugs to the design if you like.
Now that you know how to make your very own floral headband, you can make one for yourself and for anyone you want to spoil this summer! You can wear them for special occasions or even just to make yourself feel special when wearing a pretty outfit.
