


How to design a special happy birthday bouquet
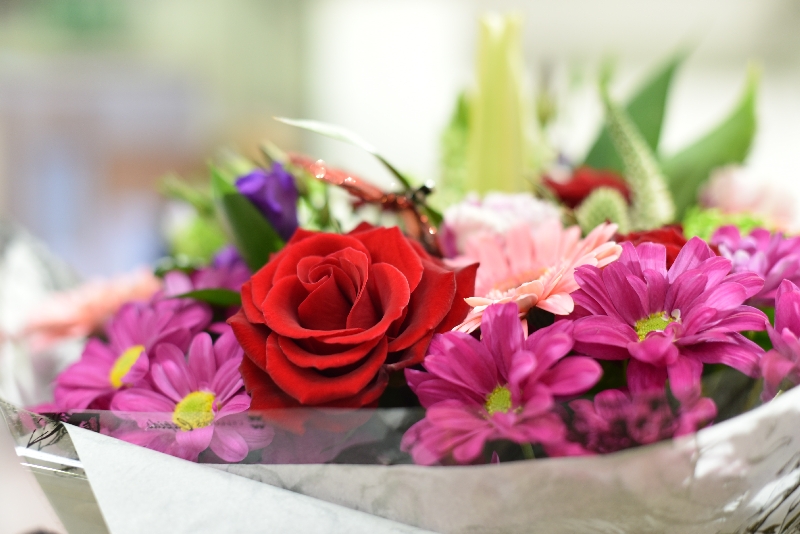
Birthdays are one of the most popular occasions on which people buy and send flowers. However, your florist might not always be able to offer you the creative bouquet you so desire. So, here’s how you can create your very own Happy Birthday bouquet in a matter of minutes. It’s simple, easy and if you choose the right flowers, it can also work out pretty cheap. This bouquet, when finished, will look like a newly opened gift with flowers springing out! Enjoy putting this creation together!
You will need:
– A selection of various colours of flowers (roses, carnations and chrysanthemums for example)
– A cube shaped gift box
– Decorative wrapping paper and ribbon
– Creative coloured tissue paper
– Balloon (optional)
– Floral foam with plastic base
– Flower preserve
– Wood glue
– A sharp pair of scissors
Method:
– When selecting your flowers, remember that this is a birthday bouquet and it should be filled
with a variety of colours. Buy some roses in a particular colour, carnations in another colour
or two and the chrysanthemums in other colours. Make sure that if you want to skip on the
foliage or greenery, then you can add some green mums for the touch of green that foliage
would normally provide.
– Also make sure that you choose enough flowers to fill the arrangement without leaving any
gaps or spaces in between.
– Keep your cut flowers in a bucket of water until they are arranged in the floral foam.
– Dissolve the flower preserve in some water and place the floral foam in the water until it has
absorbed as much water as possible. Do make sure that you cut your floral foam to size
BEFORE you place it in the water!
– While your flowers are resting in water and your foam is soaking it up, you can take the time to
decorate your gift box. Cut off the top side so that you are left with one open side that will be
the top. Cover the box with some decorative wrapping paper. For that extra touch, choose
wrapping paper that matches the colours of the flowers. Cut the paper to size, apply some
wood glue to the paper and carefully attach it to to box. Allow the glue to dry before continuing.
– Once the glue has dried, you can then glue the ribbon around the box and decorate the front
of the box with a bow.
– Now, place your tissue paper squares inside the box with their points sticking out. Place your
first sheet and then the next one should be slightly rotated to the left or right so that they lay
next to each other. Place just a few sheets and feel free to double up if they are particularly
light in colour or thin. Alternate between colours and patterns too. Use two or three different
colours or patterns. Also make sure that the mid point of the tissue paper is in the middle of
the box.
– Place the floral foam on the plastic tray and position them inside the box. Place it in the middle
and on top of the tissue paper, holding it in place.
– Start arranging your flowers now. You can arrange them any way you like. A helpful hint is to
avoid placing clusters of the same flower together. Rather place each flower apart and put
other, different flowers and colours near them. It is always a good idea to start with one kind
and colour of flower and position them properly before moving on to the next kind or colour.
– Continue until none of your floral foam is visible.
– Finish off with a brightly coloured Happy Birthday balloon if you like.