


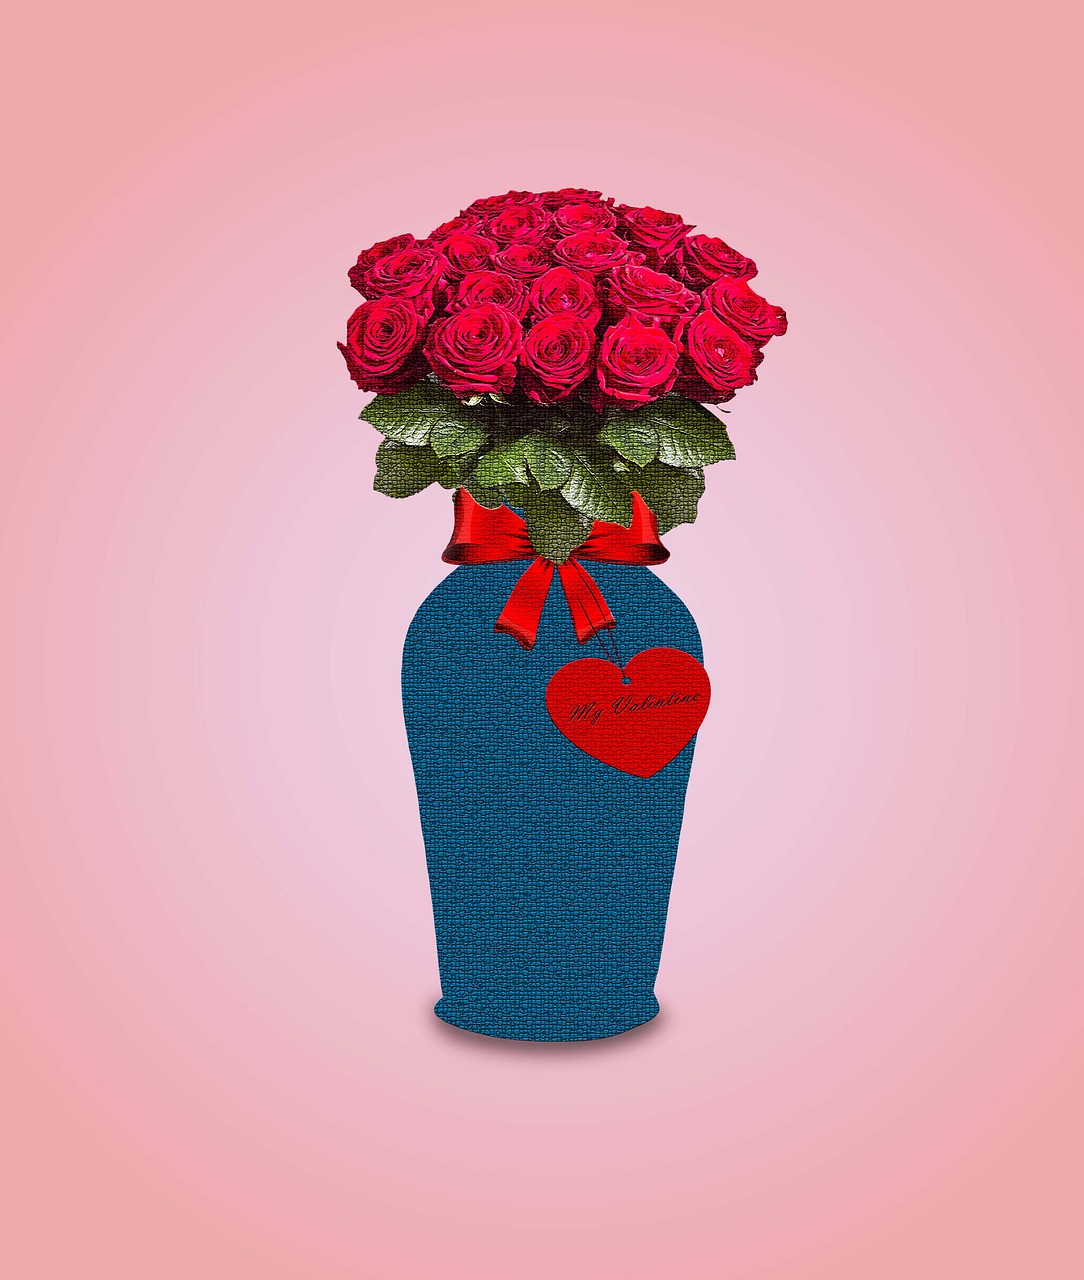
Valentine’s Day vase DIY
When you want to send a romantic bouquet to your partner or spouse, you should take some time to make sure that it is presented in just the right way. The right Valentine’s Day vase can make all the difference. Of course, if you want something other than the conventional vases you find at your local shops, you can always get creative with this DIY design.
Valentine’s Day vase supplies:
-
A container that can hold water
-
Fabric or decorative paper that will suit the colour of your blooms
-
Pretty ribbon
-
Sharp scissors
-
Glue
-
Clothes pins
-
Ruler or measuring tape
Directions:
-
The first thing you need to remember about creating your own Valentine’s Day vase is that you will need a container that can hold water. It does not need to look pretty since it will be completely covered in the end.
-
Prepare your vase by cleaning it thoroughly inside and out. You need to make sure that the exterior is completely dry before you begin decorating it.
-
Use your measuring tape or ruler to measure the vase so that you know how much fabric or paper you will need. If you only have a ruler, you can use a string to wrap around the vase.
-
Using your measurements, you can now cut the fabric or paper to the size needed.
-
Apply glue to the exterior of the vase and wrap the fabric or paper carefully around it.
-
Use clothes pins to secure the paper or fabric in place.
-
Allow the glue to dry before removing the pins.
-
You can now add a bow and, if you wish, you can attach a decorative trinket or two to this ribbon.
Once you have created your Valentine’s Day vase, all you need to do is add some water with flower food before adding those romantic blooms. Even after the flowers eventually perish, this vase can be cleaned and stored for next year! Of course, you could redecorate it each year if you prefer.