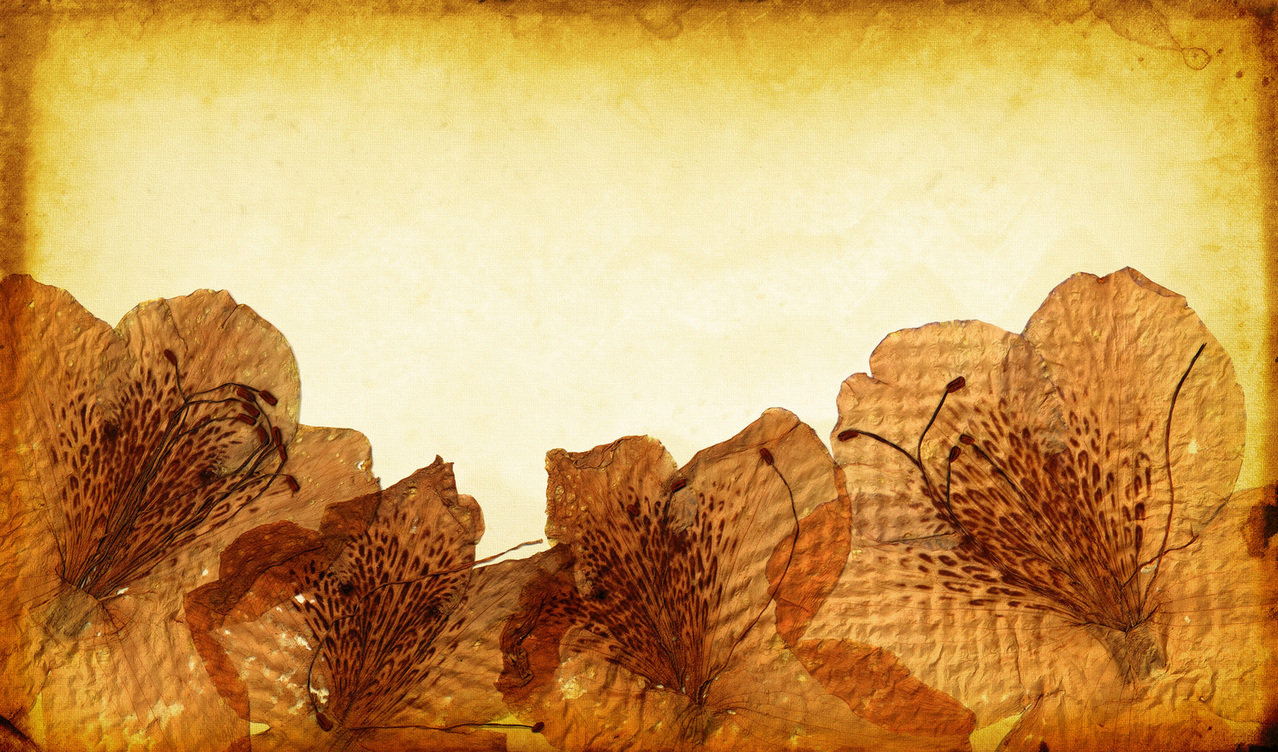
Floral Décor for your Mother’s Day Card
Fresh flowers are, without a doubt, the most popular of all Mother’s Day gifts. The demand for cheap flowers for Mother’s Day is always increasing and we are also looking for alternatives that will embrace the floral theme while helping you stick to your budget. Making your own flower-themed card is a wonderful way of showing mum how much you care. This kind of card is extremely personal and will be treasured for years to come – even more so than your regular store-bought variety. The best news of all is that they are really easy to make and you’ll need just a few basic supplies.
You will need:
– Dried and pressed flowers or your choice of artificial flowers
– A stiff piece of cardboard (for the base of the card)
– Glue
– Small paintbrush
– A pair of tweezers
– Damp cloth
Method:
- You will need to start by deciding whether you want to use artificial flowers or dried flower petals. If you want to use dried flowers, you will need to select them very carefully and they will need to be pressed in advance. If you don’t have enough time, silk flowers would be best.
- After choosing your flowers and their colours, it’s time to choose the right kind of cardboard. Remember, the cardboard is the blank canvas on which you will work your magic. It needs to be firm enough to hold the weight of the petals and it shouldn’t lose its shape when you apply glue (like regular copy paper does). The colour you choose should also compliment the colour(s) of the flowers.
- If you want to make an A5 size card, which is a fairly standard size, you need only fold the A4 sheet in half.
- After dong so, you can plan your floral design. If any of your flowers are going to overlap on another, you need to make sure that you glue down the lower layer first.
- If you struggle to remember your design, you could use a camera or your phone to snap some photos of your rough layout before you start gluing the flowers in place.
- Use a small paintbrush to apply glue to the underside of the flower. Only work on one flower at a time and take care not to get glue on your fingers. Keep damp cloth on hand to wipe your fingers if they get sticky.
- Use the tweezers to hold the flowers while you apply the glue and then place them on the card. You might need to wipe the tweezers on the damp cloth from time to time as well. This prevents glue from getting where it shouldn’t.
- Once you have glued down the bottom layer, let the glue dry before sticking any overlapping flowers n place.
- You can choose to leave the design as is or you can use decorative pens or markers to add details like stems and leaves. You can even use glitter or glitter pens for some extra sparkle.
- Once your card is ready, you can write your special message inside. If you are worried about making a mistake, you can plan your message and write it out on another piece of paper before rewriting it in the card. This will help you obtain the perfect spacing.
- You can even use special scents to give your card a floral smell if you like. Do so with care since these substances can cause ink to run and oil-based substances can leave residue marks.
