


Wed 02 May 2018
Transform pallets into planters
Pallet gardens are becoming increasingly popular around the world. Not only do they help you save space, but they also give your garden a fresh and fascinating new look. The best part of all is that you can use recycled materials (pallets) to make your planter and it can hold a variety of different types of plants and flowers. Here are some easy instructions on how to turn pallets into planters.
You will need:
- 2 wooden pallets
- Saw
- Hammer and nails (2.5cm) OR power drill with screws
- Bin bag or weed mat for the lining
- Staple gun or tacks to keep the lining in place
- Potting soil and compost suited for your plants
- Selection of plants
- Exterior primer/paint
Method:
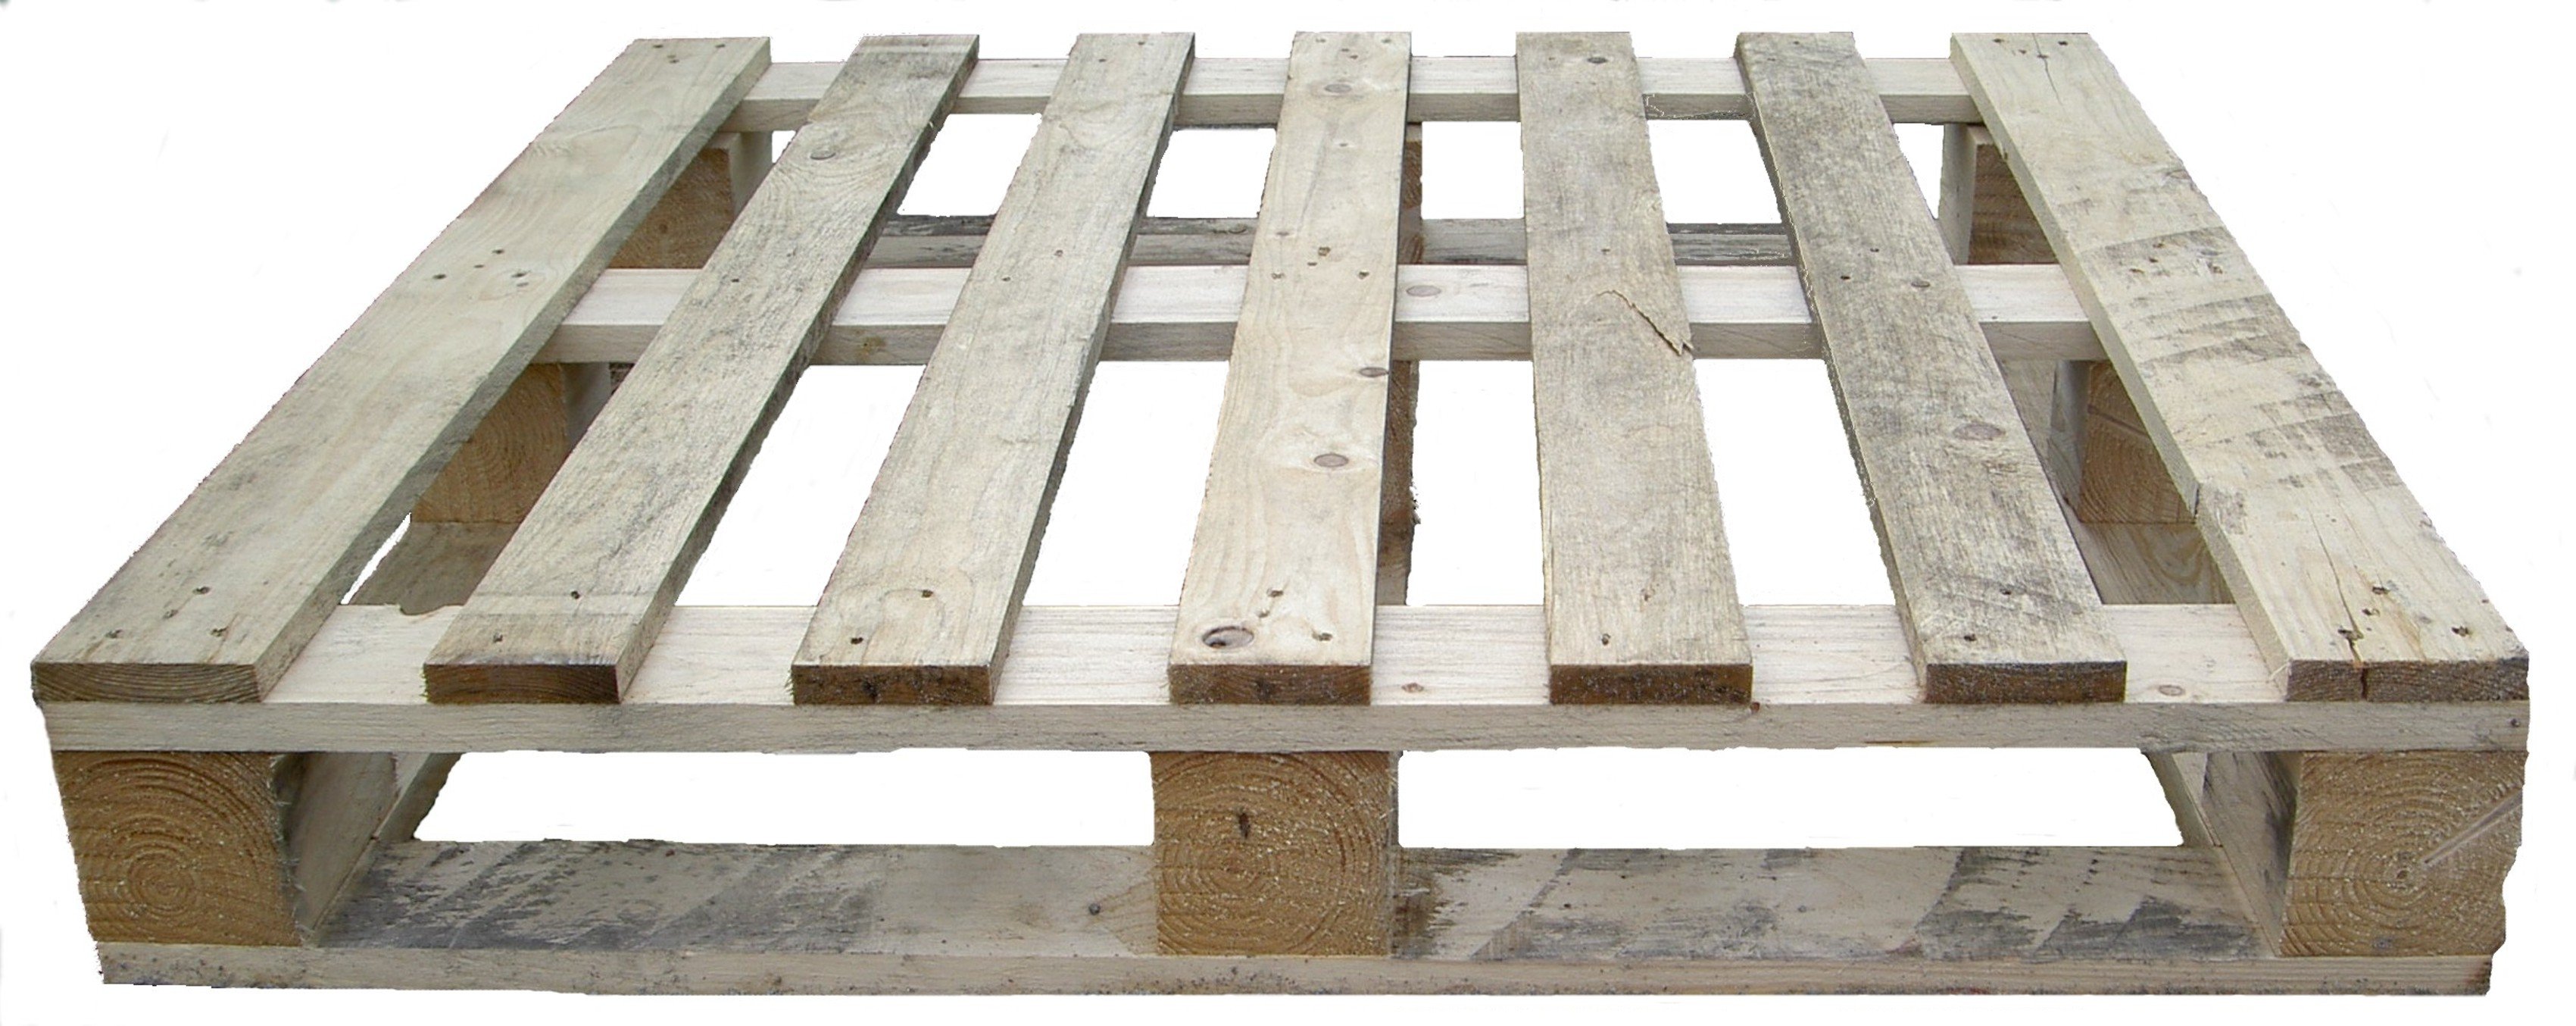
- The first thing you need to do is select your pallets. They don’t need to be in perfect shape but they should be the same size.
- You will need to use some wooden planks from the one pallet to create the base of the holders for your plants.
- So, start by removing three planks from the one pallet and set them aside.
- Turn the other pallet upside down and you will notice three raised areas that are used to keep the pallet off the ground – these will become the plant holders. So you need to use one of the planks to create a base on each of them.
- If necessary, you can cut the planks to size using a saw.
- You can then secure them in place using a hammer and nails or a power drill and screws. Some might say that the latter is a bit more durable because of the spiral nature of screws versus the smooth appearance of nails. Another benefit of using screws is that it’s a whole lot quicker! If you are worried about splitting the wood, use a small wood drill attachment to make a hole before you add the screw. This ensures a perfect fit without damaging the wood.
- You can treat the wood with a primer or paint at this stage if you like. Do take care, however, because many substances can affect your plants. If you plan on growing herbs or anything edible, you might want to avoid painting and you should ensure that the pallets you use are made from untreated wood.
- Once all of your planks are in place, you can secure your vertical garden to a wall or wherever you want it to be displayed. It’s best to do this now because it will get heavier and more difficult to move once you are done planting.
- Now you can line the holder areas with bin bags (with holes in them for drainage) or a weed mat. Use a staple gun or a similar technique to secure the lining in place.
- Add the soil and compost to your plant holding areas and be sure not to overfill them. Each of your plants will also have some soil and you don’t want them to overflow.
- Now it is time to add your plants. Make sure that you select plants with shallow root systems and ones that enjoy the same kind of conditions. For example, if you are placing your vertical garden in a shady spot, then your plants should all enjoy the shade. If you want to display it in a sunny area, then you need to select plants that enjoy the sun.
- Now that your plants are in their new home, you need only water and care for them according to their specific needs.
Not only are these gardens fun and beautiful, but they can be extremely rewarding too! You will be able to decorate your garden without taking up nearly as much space and you can enjoy the delicious and nutritious benefits of home-grown fresh produce too!