


Thu 13 Apr 2017
Make your own floral jewellery box
Jewellery boxes are useful and they make great gifts. Unfortunately, those that are already decorated can cost three or even four times the price of a plain wood jewellery box. So, why not pay a fraction of the price and decorate it yourself? It’s really easy to do and here are all the steps you need to follow for a perfect result.
You will need:
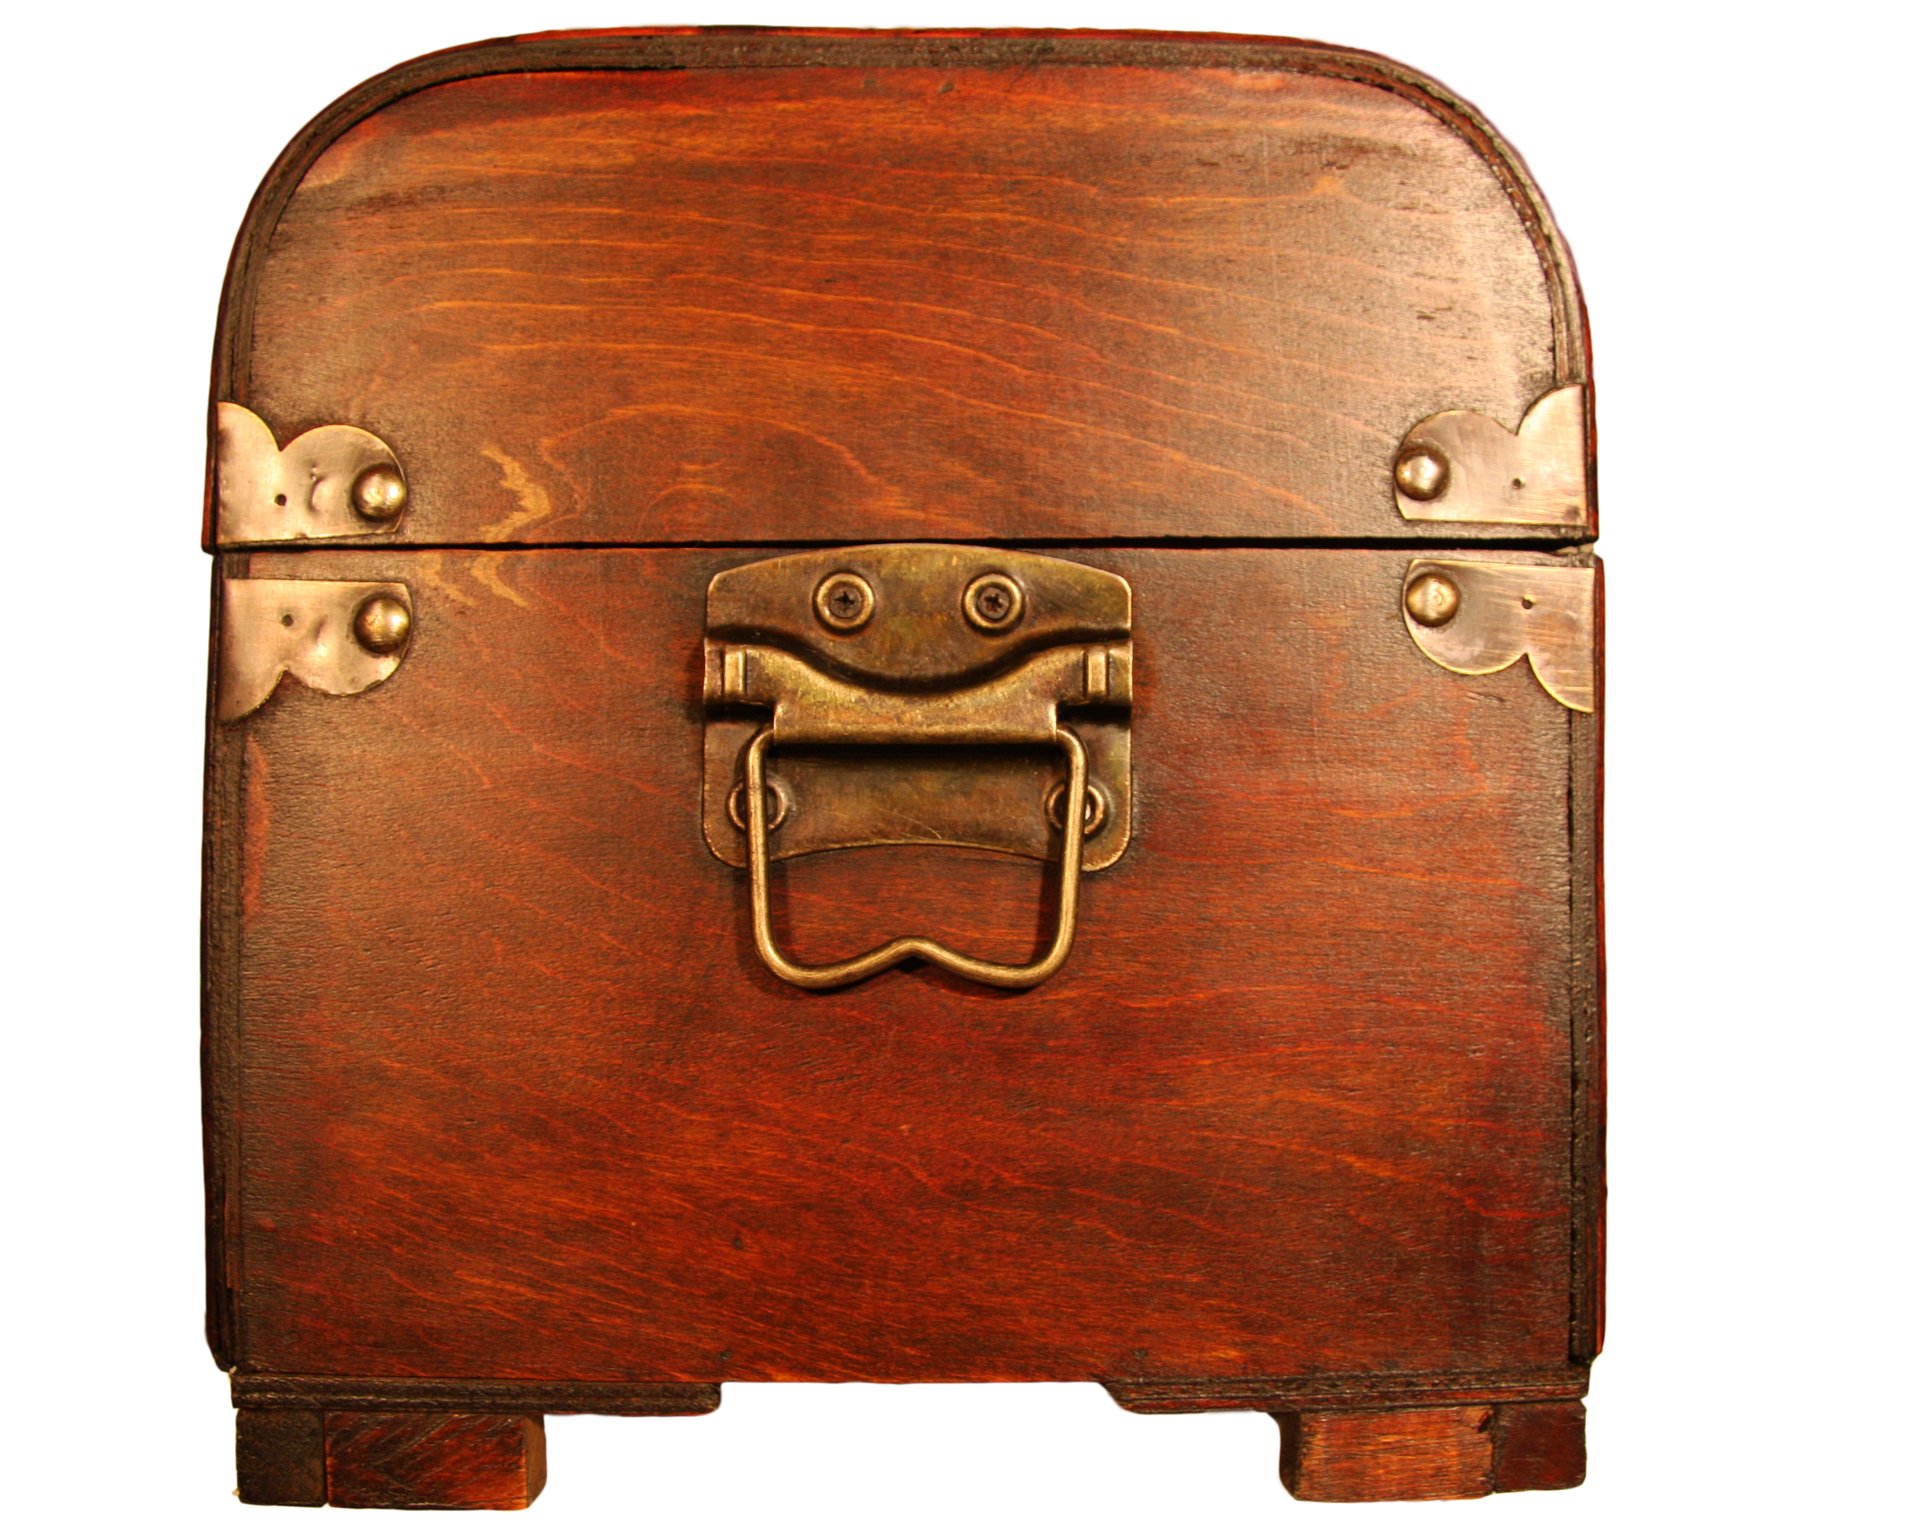
- Unfinished wood jewellery box
- Flower pictures of your choice
- Mod podge
- Paintbrush
- Soft sponge
- Water
Method:
- You will need a wood jewellery box that has been sanded down but not varnished, stained, or painted.
- Choose your flower images and have them printed on regular paper. The better the quality of your images, the better the end result.
- Apply mod podge to the areas of the jewellery box where you plan on applying the floral images.
- Stick your flower pictures down (face down) on the wood and gently smooth out using your fingers. Be careful not to rub or move the images once they are down or this will result in smudges.
- Let your jewellery box stand for 24 hours to dry.
- Use a sponge and water to wet the back of the paper and then use your fingers to gently rub the paper off. You need only remove the top layer of paper to reveal the image. If you rub too hard, it will remove the image along with the top layer of paper so take care during this step.
- Once you are satisfied with the result, allow your jewellery box to dry and, if you like, you can apply a thin layer of mod podge or a sealant to protect the wood along with your design.